At first glance, creating a remote podcast may seem very complicated, but it’s not as hard as it may seem.
After reading this article, you will understand the process of recording a remote podcast and know everything you need to record your podcast. So let’s get started!
Organisational aspects

First, you need to choose a program for video recording. At VORTEX.video, we recommend Riverside.fm, because of the following advantages:
Studio quality audio.
4K video (depending on webcam capabilities).
Reliable connection (progressive upload and local recording).
Screen sharing.
Social live streaming.
iOS app.
Alternatives exist, such as Zencastr, SquadCast, and Cleanfeed, but they are not at Riverside’s level. In previous years, people also used Zoom to record video, but it greatly reduced video and audio quality, so it is not relevant now.
Please note that all further recommendations in this article imply that you use Riverside for recording.
Choose Your Setup
Selecting the right equipment for video podcasting is vital as it enhances production value and improves visuals, audio quality, and lighting, leading to engaging content and a professional presence. Our article will help you to understand the choice of equipment, so let’s get started!
Microphone
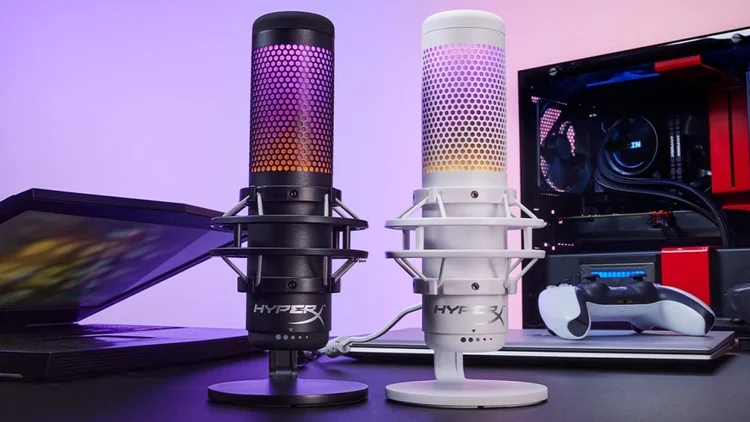
Sound quality is essential when recording a video podcast, so choosing the right microphone is crucial. A high-quality microphone ensures clear audio, accurate tone, and reduced background noise, which enhances audience engagement.
However, selecting the right microphone can be difficult, considering the varied options available. Spend some time choosing the right microphone.
We don’t recommend buying the first one you see, and don’t buy the cheapest models, as the sound quality may be terrible. We’ve covered the issue of choosing a microphone in our blog before, so you can read the article below if you are interested. [in progress]
Camera
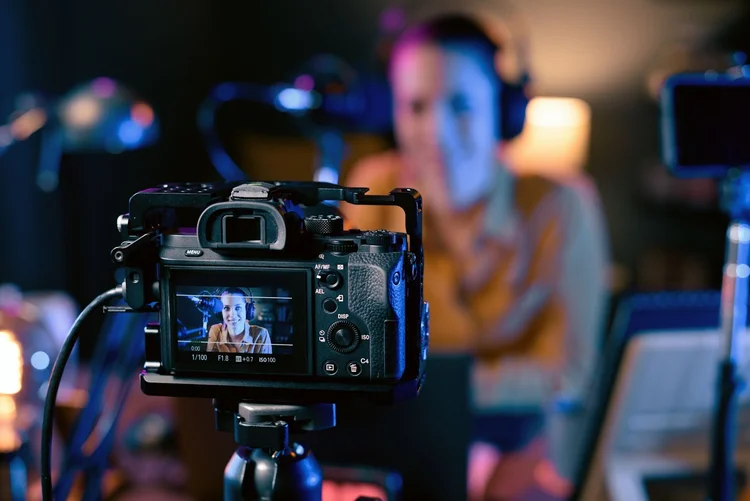
The camera you choose can greatly impact the quality of your video podcast. A good camera captures crisp visuals and adjusts well to different lighting conditions, enhancing viewer engagement. If you’re unsure about which camera to select, given the various options with diverse features and price points, don’t worry—it’s not as difficult as it seems. Before purchasing a camera, you can check our article to ensure your investment meets your needs and vision for your podcast’s future.
Important—if you are a MacBook Pro or MacBook Air user, do not use it to record your podcast. MacBook cameras have a low resolution because the screen is very thin, and a high-quality camera could not be built into it.
Important—if you are a MacBook Pro or MacBook Air user, do not use it to record your podcast. MacBook cameras have a low resolution because the screen is very thin, and a high-quality camera could not be built into it.
Light
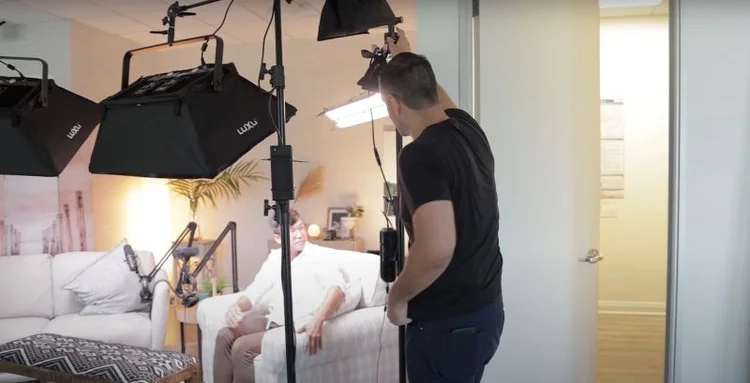
Good lighting is essential for video podcast quality. It ensures clear visibility and accurate color representation, contributing to a professional appearance. Poor lighting can lead to grainy images or distracting shadows, which detract from your podcast’s quality. The topic of video lighting is too large to describe in one article, so we found a video that will help you understand this aspect.
From window light tricks to professional studio gear, this video features various options to suit all needs and pockets. Dive in, compare products, and choose the right key light for your next masterpiece. Watch now and light up your world!
Headphones
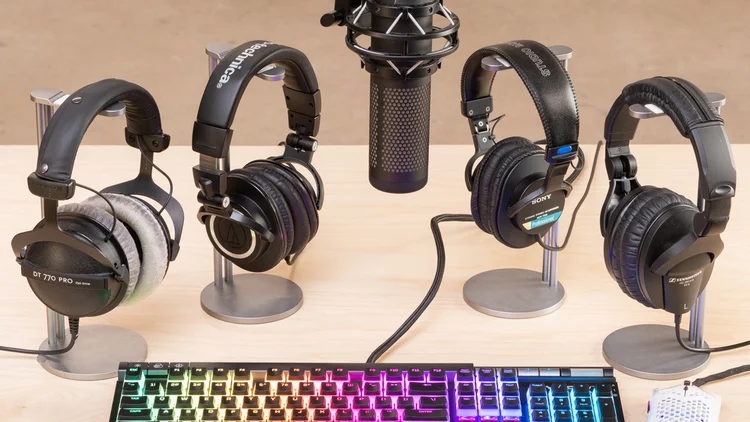
From a practical point of view, headphones in podcasts are used only to prevent your microphone from recording the sound of your guest. So you can use absolutely any headphones you wish.
But podcasters also note that headphones in the frame make the speaker look more professional and expert, so you can choose headphones that look more professional to take advantage of this feature.
Preparing recording location
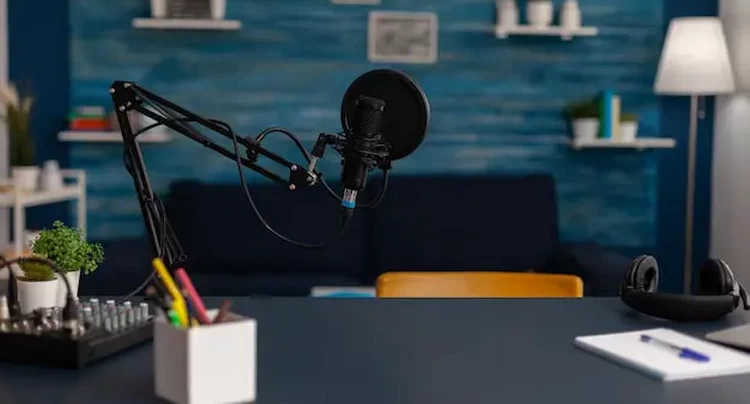
Before hitting the record button, make sure you prepare the recording area properly. The environment you choose for your recording can significantly affect your podcast’s sound and video quality. Choose a quiet, well-lit room with minimal background noise and echo.
Furnished rooms with carpets, curtains, or bookshelves can help reduce echo and ambient noise. The background of your video podcast also matters. Ensure your background is clean, organized, and visually appealing but not too busy. This can help your audience focus on you and your emotions.
Instruct Your Guest
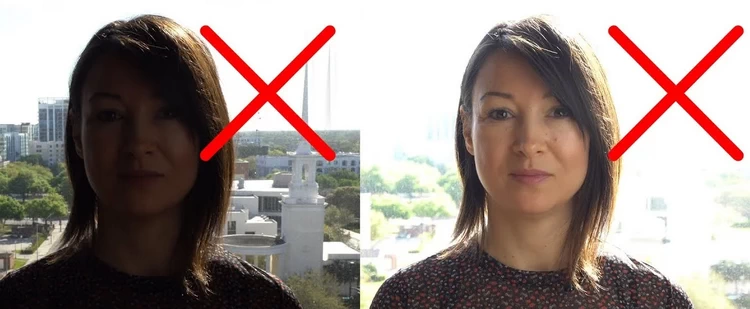
First, you should send the guest a link to your studio. Using this link, the guest can download Riverside to his/her phone or log in to your studio using a browser.
Next, you should ask your guest to choose a quiet place with good lighting. Ask them to turn off fans and air conditioners and silence the phone. Also, the guest should not have a window in the background, as this can spoil the picture.
If your guest doesn’t have a professional camera and microphone, advise them to use a smartphone. We do not recommend using a laptop camera to record a podcast. You definitely shouldn’t record a podcast on a MacBook because its lid is fragile, and a high-quality camera could not be built into it. Even the latest top-of-the-line laptops have cameras that are much worse than smartphone cameras, so pay attention to this.
Also, explain to the guest that your position in the frame should be the same. The easiest way to set up a smartphone for shooting is to use books.
Recording process
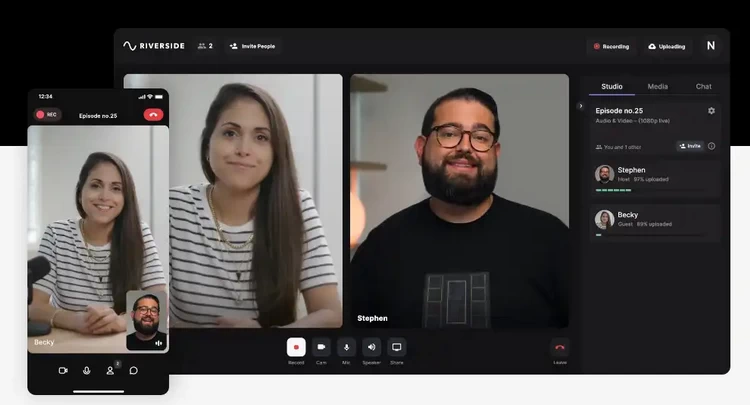
Conduct a technical check before starting the primary recording. Record a short clip before beginning the leading podcast to ensure everything works perfectly.
Review it for any potential issues with sound, video quality, or synchronization between audio and video. If possible, send a test video to your video editor, as no one can check it better than the video editor.
Once you’ve made sure that all your equipment is working correctly and your recording location is well-prepared, you’re ready to start your remote video podcast.
Instruction on how to record a podcast on Riverside
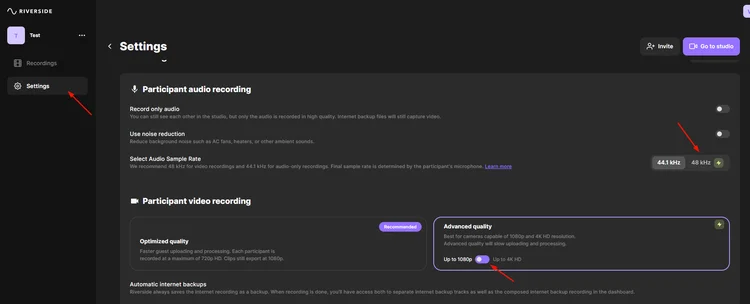
Open Riverside Dashboard and create a new studio.
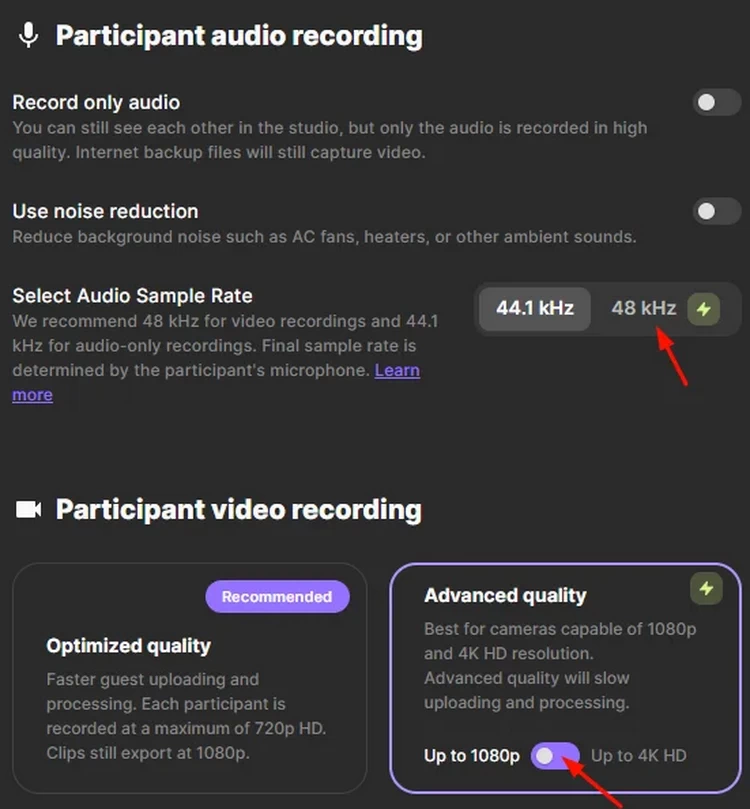
Set the video settings to 1080 or 4k and switch the sound settings to 48 kHz.
Send your guests an invite link to join your recording studio.
Hit the Record button to start recording.
Stop recording when you are done and wait for all your guests’ files to upload.
Download separate audio and video tracks for each guest.
If you still have questions about the podcast recording process, you can watch the video below:
Conclusion
Choosing the right camera for recording a solo video podcast comes down to your specific needs and budget constraints. Using the above information, you will be able to record high-quality remote video podcast footage easily, but recording a podcast is only one step in its creation. The next step in creating a podcast is video editing and post-production. At this stage, your podcast gets polished. High-quality post-production service can help your podcast stand out from the crowd, find its target audience, and become successful! If you want to learn more about post-production and video editing, you can book a free strategy call with VORTEX.video and get a free consultation for your podcast! Get a Free Consultation


